How to Create Professional Invoices Online: Complete Step-by-Step
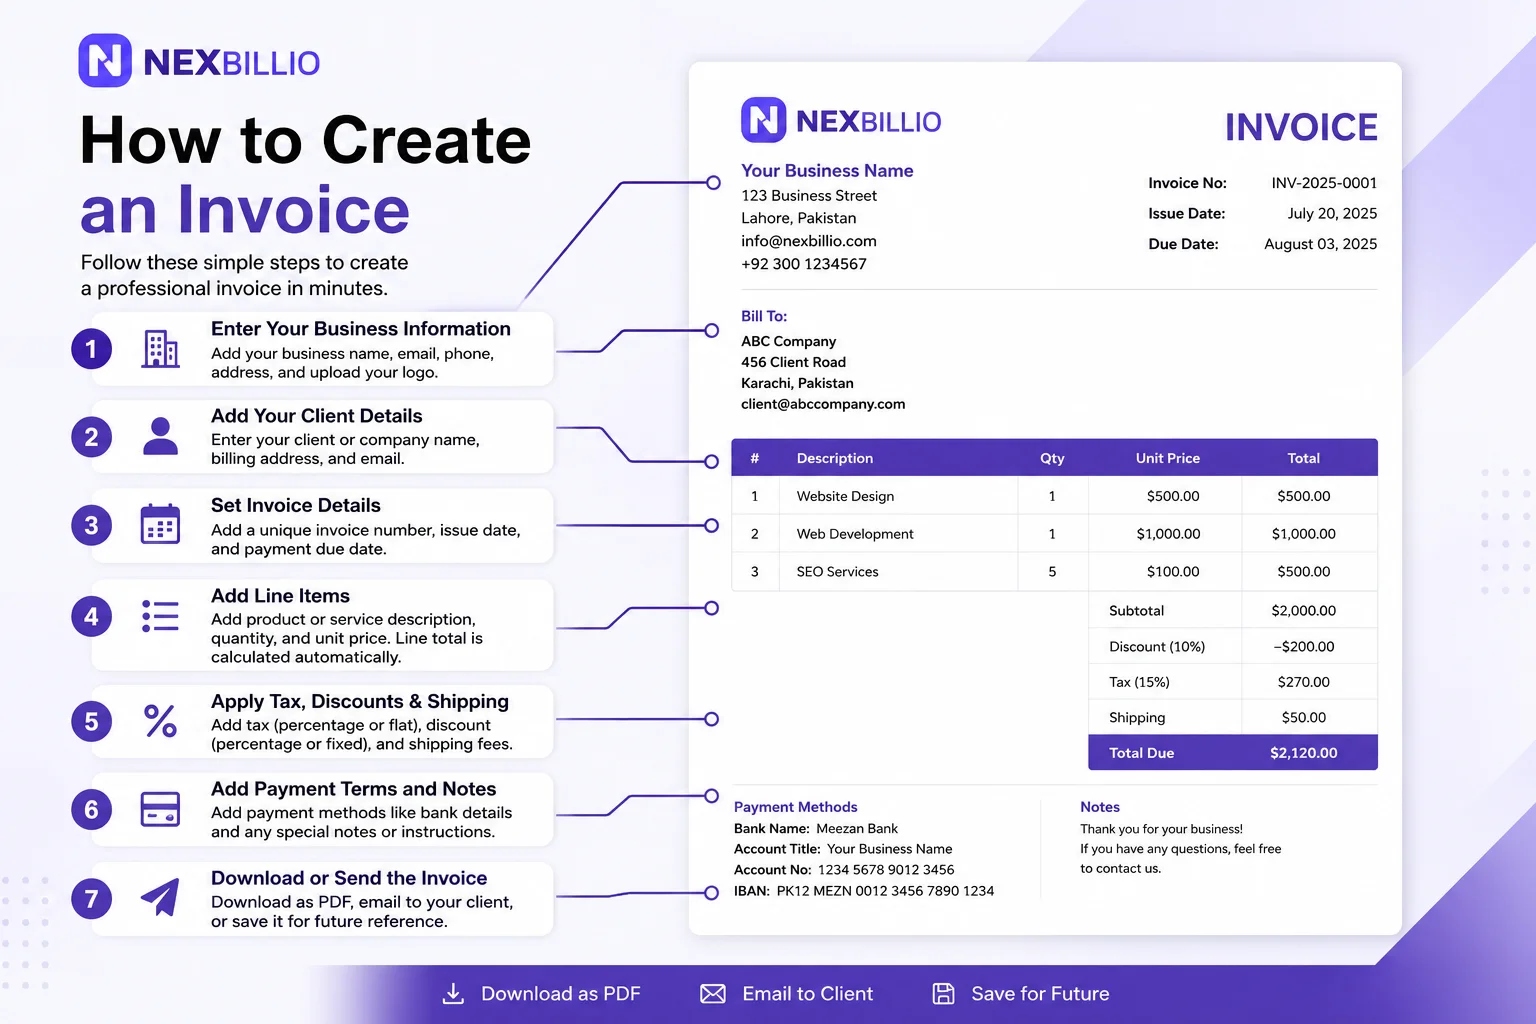
Invoicing doesn’t need to be complicated or expensive. Whether you’re a freelancer managing five clients, a small business owner handling multiple projects, or a startup looking to streamline operations, knowing how to create professional invoices online can save you time and help you get paid faster. The best part? You can do this completely free. This guide walks you through everything you need to know — from understanding invoice basics to generating your first professional invoice in minutes. We’ve included real examples, best practices, and exactly what to include so your invoices look credible and encourage faster payment. Why Creating Professional Invoices Matters Before we jump into the “how,” let’s talk about the “why.” An invoice is more than just a payment request. It’s often your first formal touchpoint with clients after the work is done. A well-crafted invoice does more than ask for money — it builds trust, speeds up payment, and protects your business. It sets professionalism expectations. Clients notice when you send polished, organized invoices. It signals that your business is legitimate and organized, which builds trust and confidence. Sloppy invoices raise red flags — even if your work was excellent. It accelerates payment. Studies show that professional, clear invoices get paid 20 to 30 percent faster than generic ones. Clients understand exactly what they owe, when it’s due, and how to pay you. No confusion means no delays. It protects your business legally. A proper invoice documents the transaction, creates a paper trail, and protects you in disputes. It shows the work performed, rates agreed, payment terms, and dates — all crucial if you ever need to follow up on late payments. It simplifies tax time. Instead of digging through emails and scattered notes, you have organized records of every transaction. This makes filing taxes, calculating income, and tracking expenses straightforward. It enables business growth. As you grow, you need systems that scale. Building good invoicing habits early means you can automate and streamline later without starting from scratch. What Every Professional Invoice Must IncludeAn invoice without the right information creates confusion and delays payment. Here’s what belongs on every invoice you send. Your business information sits at the top. This includes your business name, address, phone number, and email. If you’re a freelancer, this is your personal info and possibly your business name. Clients need to know exactly who to contact with questions. Your invoice number uniquely identifies each invoice. Number them sequentially — 001, 002, 003, and so on. This makes tracking invoices easy and looks professional. It also helps you reference specific invoices in follow-up conversations. The issue date tells clients when you sent the invoice. The due date is equally important — it tells them when they need to pay. Most businesses use 15, 30, or 45-day payment terms, depending on the client relationship and industry norms. Client information includes their name, business name if applicable, address, and contact details. Make it clear who the invoice is for. If you work with large organizations, include the specific department or person responsible for payments. Itemized description of work or products breaks down exactly what you’re billing for. Don’t just write “Services.” Instead write “Website design consultation — 3 hours at $75/hour” or “Content writing — 5 blog posts.” Be specific. Vague descriptions create questions and delay payment. Quantity and rate show how you calculated each charge. Include hourly rates, project fees, or per-unit pricing. This transparency eliminates negotiation after the work is complete. Clients know upfront what they’re paying for. Subtotal, taxes, and total amount are calculated automatically by invoice generators, but they’re critical. Show the subtotal before tax, then list any applicable taxes, fees, or discounts separately. The total at the bottom should be unmistakable. Payment terms and methods tell clients how and when to pay. Do you accept bank transfers, credit cards, PayPal, checks? What’s your payment deadline? Write something like “Payment due within 15 days of invoice date. Please send payment to [your payment details].” Notes or terms and conditions are your final chance to set expectations. You might write “Thank you for your business” or include a note about late payment fees. This is also where you’d mention any refund or revision policies. 5-Minute Steps to Create Your First InvoiceCreating an invoice online is actually faster than you’d think. Here’s exactly how to do it. Step 1 — Choose your invoice generator. You have options here. Free online tools like Nexbillio, Invoice Generator, Zoho Invoice, and Wave all offer free invoice creation without requiring credit card information. Pick one that feels intuitive to you. The best tool is the one you’ll actually use consistently. Open the tool and look for “Create New Invoice” or a similar button. Don’t worry about perfection — you can adjust settings after trying the first one. Step 2 — Upload your logo and fill in business details. This takes 30 seconds but makes a huge visual impact. Upload a PNG or JPG version of your logo. Then enter your business name, address, phone, and email. This information appears at the top of every invoice you create from now on, so you only enter it once. Step 3 — Enter client information. Add who you’re billing. Enter their company name, contact person, address, and email. If you work with the same client repeatedly, their information is saved for future invoices. The client information section clearly distinguishes between who’s sending the invoice and who’s receiving it. Step 4 — Add invoice details and dates. Set your invoice number. Select the issue date and the due date, typically 15 to 30 days from now. Most generators calculate due dates automatically — just select your payment terms. These dates give clients a clear deadline and help you track payment timing. Step 5 — List your services or products. For each item or service, write a clear description of what you delivered, enter the quantity, and enter the rate. The total calculates automatically. Add multiple line items if … Read more